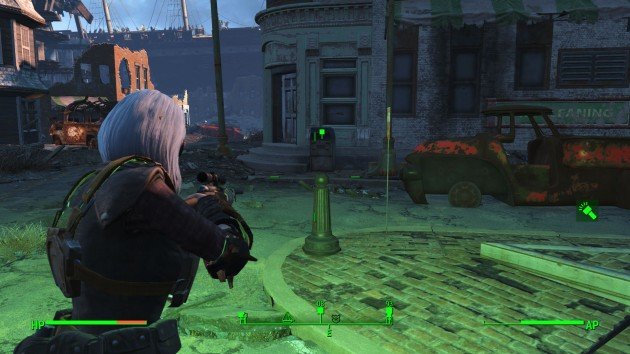
The third Railroad mission given by Doctor Carrington is really a test of conviction. Between an infested safe-house and a scenario filled with horrors and tricks, you probably won’t want to miss the full strategy here.
Butcher’s Bill is another spy-based mission, where players need to investigate a safe-house at Kendall Hospital, that has been overrun by the Institute. Getting it back won’t be as easy as you think. Follow the steps below to get a clean performance. This mission unlocks after completing Boston After Dark.
 1. Head to the Dead Drop Location
Check your map for the exact location of the dead drop, you’ll find a tape inside a mail box in the nearby zone. Take it and play the tape through your Inventory > Misc > Augusta Report.
 2. Move to Augusta’s Safe-House
The next objective is far ahead to the east of the Cambridge Police Station. It’s in fact the Kendall Hospital, now home to a bunch of raiders. Be careful while approaching the entrance door since several Feral Ghouls will jump you.
 3. Get in the Center
Once inside move forward until you see a big fire in the center of the level. Before getting there two raiders will be on the right side. Then, several enemies will come to attack you when you reach the fire, they’re quire weak tho, so just shoot to kill.
 4. Upstairs
To the right of the fire there’s a door with lots of stairs. Take them into the next level and keep moving without precaution. By the time you see more and more corpses on containers, you’ll realize something really wrong is going on in this place.
 5. Take the Elevator
Use the elevator to reach the next level. While getting out enable the stealth mode on CTRL and take cover on the wall because there’s an automatic turret at the end of the corridor. Going carelessly here might make you take lots of unnecessary damage.
 6. Go Down
Head down for a change, there’s a ground depression right under the turret’s location. Move along, there’s only one path here. Eventually you’ll find a big door. Make sure to be on stealth mode before opening it.
 7. Prepare for the Killing
There are several heavily armored raiders in the under level. And despite the apparent range advantage it’s really not the case. First, recon the area without being spotted to see where the enemies are. Then, shoot randomly to lure them. If you stand near the door or the walls you’ll get bombed to death. Pick them one by one at the back door. Equip a strong weapon or you won’t do it.
 8. Clean the Area
This level-based base has quite a lot of raiders and goods too, weapons, medical supplies, food and boosts as well. If you don’t need any of that, go directly to the objective point, which is in the exact level underneath the one you’re at. Check the screenshot to be sure. You can also open the door in front of you to get there quickly (requires advanced locket-pick). If you don’t, do not risk jumping without a save, if you fall down you can’t get back up. Go around instead.
 9. Go Back to Carrington
Pick the Augusta Station Last Update not and get out of there. I couldn’t find a way out of this place and since there’s a Deathclaw at the very bottom, I decided to just head back to the entrance. Once outside, just do a fast travel to Railroad’s HQ to deliver the results.
Note: Do no rely on companions during this mission, they will often get bugged between levels and they won’t ever show up near you.
Read the next exclusive mission guide here at VgamerZ: Fallout 4 Mission Guide: Getting a Clue and Reunions.

vGamerz Thanks to all our Contributors; Independent Writers, Journalists and Guest Bloggers for helping the site to became better with good an engaging content and for keeping our readers up to date with the most recent updates about all types of online games.

